Home
Showing posts with label 12WTBP. Show all posts

Tuesday, April 13, 2010

12 Weeks to Better Photography - Week 7

Phew, playing catch up here!  Back on track with 12WTBP. Check out the originator here.


This week was about outdoor photography and the macro setting. I've already been using a lot of my newfound techniques for outdoor photography seen here, but macro is something I've played with for a while. Macro is a setting that basically allows you to take a photo of something up close. You know those pictures of bugs and flower pollen? Those are taken using the macro setting and a macro lens. I don't have a macro lens, but I have a telephoto lens, which, when zoomed in all the way, will do the trick for the most part. I also have some pictures I took with  my old P&S using it's macro setting.

This first photo was taken using the macro setting on a Canon S500. A 5mp P&S I bought for $500 (I KNOW) when digital cameras were first becoming big. This is my second favorite camera to my Rebel. Loved it.


Moving to the DSLR. I took this using my telephoto lens zoomed all the way in and on the macro setting of the camera. You can see quite a bit of detail, including the pollen stuck to it.


Another on the same settings. See the very narrow depth of field?

This was a little experiment I did. Same settings for both photos, but the first is using the UV filter I bought mainly to protect my lenses. The second is without. Interesting...


Can I just say that I was looking back at some of my old pictures and I have come such a LONG way in the past 12 weeks? This has been such a great experience so far and I'm SO GLAD I did it!

Next week: Moving Objects

Tuesday, March 30, 2010

12 Weeks to Better Photography - Week 5


Be sure to check out Merideth's blog for a link to all of the 12 Week's participants!

This week focuses on composure hitting 6 major points:

  1. Keep it Simple
  2. The Rule of Thirds
  3. Keep and Eye on the Horizon (sort of an extension of the rule of thirds)
  4. Frame your subject
  5. Fill the Frame
  6. Try a new perspective
I'm going to be honest. I completely forgot about this week's lesson until today, so I'm just going to pull old photos that I've taken that exhibit each point.

Keep It Simple
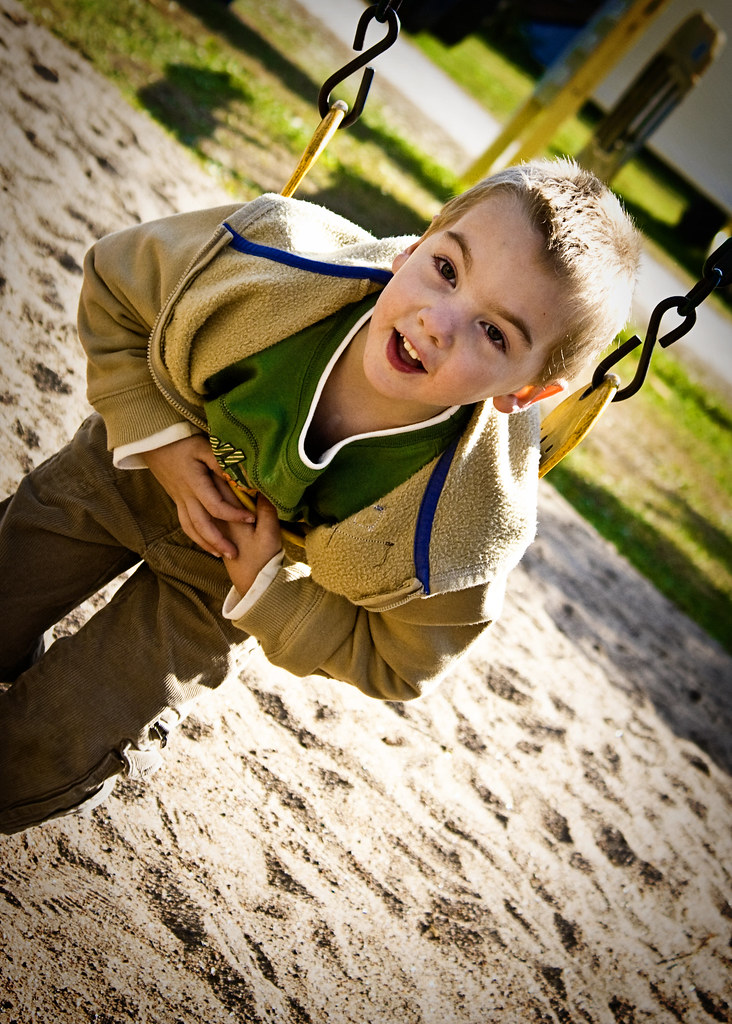
Try to avoid too much background activity. It takes away from the subject. For example, my first image is a little to chaotic, you can see the poles in the background and it's a little distracting from James and his utter cuteness.


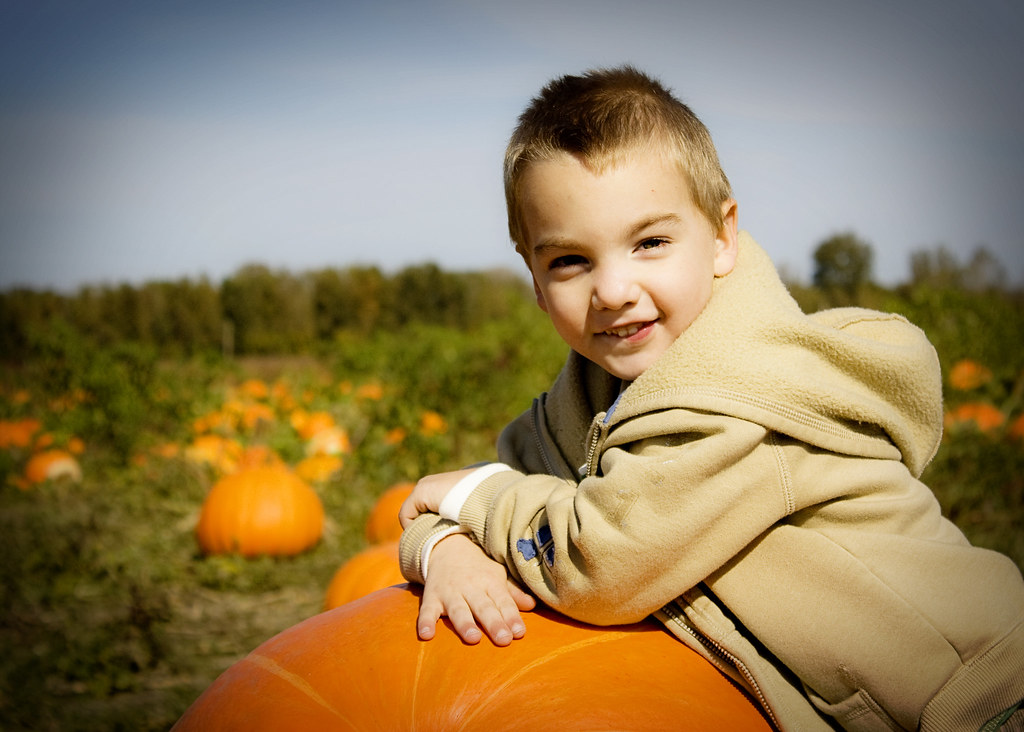
This second image, however is a little more easy on the eyes. My subject is clear and uninhibited.


Rule of Thirds
When taking a picture, try not to center everything. It's in our nature, I think, to want things to be symmetrical and centered. So, we automatically put our subject in the center. However, when you think about it, a lot of the images that you see and say "WOW" to aren't centered. They are often offset. So, divide your viewfinder into thirds (like a tic tac toe board) and line up your subject on one of those lines or cross points. I always say this was the turning point in my photography.


Keep and Eye on the Horizon
This is kind of an extension to the rule of thirds. Don't let your horizon cut your picture in half. Line it up at the upper third or lower third line in your image. You can see this a little in the image above.

Frame your Subject
Try using naturally occurring items to create a frame around your subject. It brings the eye in and makes the photo more interesting!


Fill the Frame
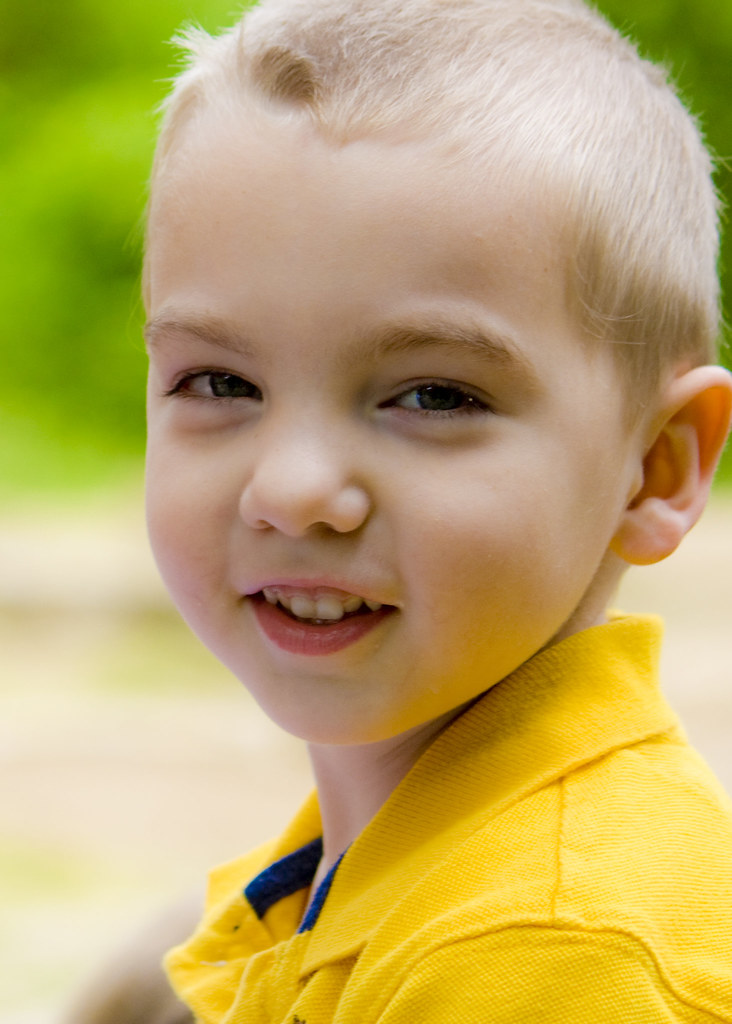
Don't let dead space kill the photo! You're taking a picture of something, let us be able to see it! 


Try a New Perspective
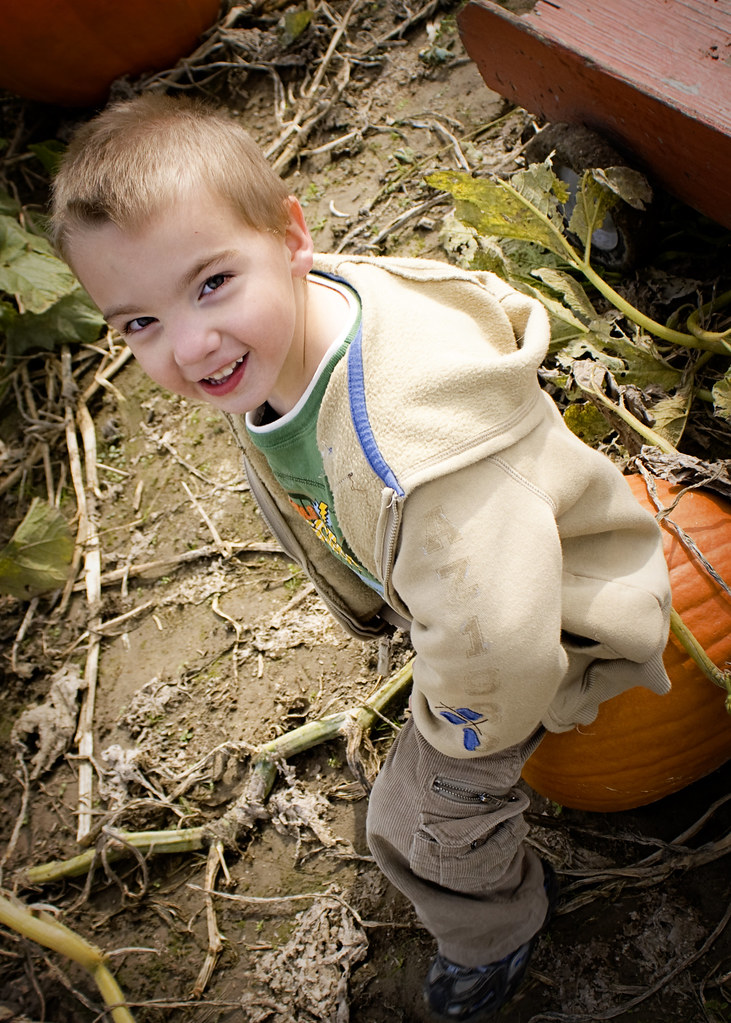
Don't be afraid to show off your flexibility! For kids and pets, get down on their level, see the world how they see it. Try finding a perch or just a new angle. You don't have to photograph your subject head on!


Next week: Shooting Indoors

Tuesday, March 23, 2010

12 Weeks to Better Photography - Week 4


I have to admit, I was kind of dreading this week. I don't like to use my flash. The following pictures prove it. I'm not very good at it. They always get blown out and never turn out the way I want. But, the good thing is, now I know why. This week's lesson talked about the basics of flash and how to use it appropriately. The challenge called for photographing a subject outdoors in the shade and in a bright sun which casts shadows on the subjects face. Ideally, my subject would have been human. Unfortunately, this wouldn't work for me since Rob doesn't get home until almost sundown. So, the boys had to play the role and getting them to stand still is akin to controlling the weather. So, here' goes nothing. Also, my best friend, Valerie (I've mentioned her before) introduced me to Picnik. Why I've been torturing myself with Photoshop, I have no idea, because this thing is AMAZING.

Image 1/2:
Aperture: f/1.8
Shutter Speed: Automatic
ISO: Automatic

These images was my attempt to show that even when your subject is in a well-lit environment (outside on a bright sunny day) shadows can often cause issues and mute color. With a well-used flash, you can eliminate this. My issue with these photos is that I was attempting to hold Dudley still which caused me to be too close and the flash to overexpose the photo. But, you can see that the shadows which were on his face are now gone and the color is MUCH better (well, sort of).

Image 3/4:
Aperture: f/1.8
Shutter Speed: Automatic
ISO: Automatic

These images were my attempt to show that again, even though the subject is shadowed entirely (especially when there is a backlight) you can use a flash to lighten the subject. Again, this is a very poor representation, but, I did my best!


I'll definitely be practicing this more when I have a more manageable subject.

Tuesday, March 16, 2010

12 Weeks to Better Photography - Week 3


Wow. I can't believe it's been 3 weeks since I started this series! This week we will be focusing on White Balance. This is something I never touched in my amateur photography adventures, but it has definitely shined a new light on things. Basically, there are different types of light depending on the source. There's a whole scientific explanation behind it, but I won't get into that.

Certain types of light give off a hue or tone to the objects it casts light on. The sun gives the most "pure" light - white light. It allows us to see colors for what they truly are. Though even the sun can cast color in a different way. Indoor lights all do different things the the hue of color as well, depending on the source of the light. Fluorescent light bulbs and incandescent light bulbs are each going to make your photo look one way or another.

So, this week I got to try my hand at using the custom white balance setting on my camera. Basically, you take a picture of a white sheet of paper and tell your camera that, in these lighting conditions, this is what white looks like and the camera will adjust accordingly.

Here's what I came up with:

Image 1 - Aperture Priority:
Aperture: f/1.8
ISO: 1600
Shutter Speed: 1/4000
White Balance: Auto


Image 2 - Aperture Priority:
Aperture: f/1.8
ISO: 1600

Shutter Speed: 1/4000
White Balance: Tungsten Setting

Image 3 - Aperture Priority:
Aperture: f/1.8
ISO: 1600
Shutter Speed: 1/4000
White Balance: Custom


There isn't a whole lot of difference between the first and third picture. But, you can definitely see that the color is more correct. The third picture better represents what the item (a lamp berger) actually looks like.

I am so excited about this project. I have learned SO MUCH!!

Tuesday, March 9, 2010

12 Weeks to Better Photography - Week 2

**Let me preface this by saying that this is a really long post. It helps me to gain understanding by writing it out, explaining it myself. So, I hope I don't confuse you and if you want, go straight to the source of the information.


This week scared me a bit. I'm all over aperture. It makes sense and is what I focus on a lot. This week, however, we were diving into the world of ISO and Shutter Speed. I know what shutter speed is - how quickly the shutter (the little door that opens in front of your film/image sensor) operates. ISO - film speed - not as much. The thing is, is that in order for you to get a properly exposed picture you have to understand how these three things work together. It's a balancing act, when one changes, the others may need to change as well or you'll end up with blurry or dark or blown out pictures. So, here goes nothing.

Let's start with ISO. Like I said, ISO is film speed or, how quickly your image will be captured. The higher the ISO, the quicker the image is captured; the lower the ISO, the slower.

Higher ISO = Quicker capture = Less light required
Lower ISO = Slower capture = More light required

The numbers used to represent ISO are 100, 200, 400, 800, and 1600. This handy little chart helps you to know when to use what setting:


As you can see in the chart: More light = Lower ISO, Less light = Higher ISO.

You want to use the lowest setting allowable as the higher the ISO you use, the more possibility there is for grainy images (image noise) since there isn't enough time for the camera to capture the details.

Now, shutter speed. Also, like I said, this is how fast the little door (shutter) closes. It ranges from several seconds (bulb setting) to fractions of a second (1/4000th). A faster shutter speed will freeze action (think sports players flying through the air). A slower shutter speed will create a blurred effect (think an image of a highway with bands of light from the cars driving by).

Rules of thumb:

  • Use a tripod for shutter speeds 1/50 of a second and below to prevent blurred images.
  • If you are taking a picture with the camera in hand, use a shutter speed 1/60 of a second or faster. Hold your breath when taking the picture and if your subject is moving at all (a wiggly child, for example) up your shutter speed.
  • For fast moving subjects, use a shutter speed 1/1000 of a second or faster.
Now that we have the details out of the way, lets dig in to the practice part. 

The question we are focusing on this week is: "When should I use a fast shutter speed?" 

I am operating my camera in Tv mode, or shutter priority mode. This means I choose the shutter speed I want and the camera will set everything else (aperture) so that the exposure is correct. The lighting wasn't fantastic for my images this week, but I did my best. Observe shutter speed:


Image 1: 
Shutter Speed: 1/1250 sec.
ISO: 1600 (I was indoors with poor lighting)
f-stop: f/2.2

Notice how the water coming off the glass is "stopped" mid-motion? You can see the bubbles and droplets.


Image 2:
Shutter Speed: 1/80 second
ISO: 1600
f-stop: f/8

Notice how the water is "flowing" in the picture?

The faster the shutter speed, the faster the camera takes the picture; the slower the shutter speed the slower the camera takes the picture.

Now, notice what changed in the properties of the images? The f-stop. In order to allow enough light for correct exposure, the camera changed the aperture. The top image has a much shallower depth of field the than the bottom.

Phew! This lesson goes into a lot more detail about operating in manual mode and adjusting the shutter speed, ISO, and aperture on your own. But, this post is long enough. I may go into this another day. I hope I was clear!

Are these posts helpful? Do you have any suggestions?

Tuesday, March 2, 2010

12 Weeks to Better Photography - Week 1

Aperture, right up there with the rule of thirds, I feel is one of the techniques in photography that I feel has made the biggest difference in my photos. I'm glad they started this course with it. It can be confusing (I found this when trying to explain it to my photography club students at school) because the "rules" behind it are sort of backwards.

Aperture is essentially how much of your picture is in focus. The lower the aperture , the less the picture is in focus (narrower depth of field). The higher the aperture, the more the picture is in focus.

As far as technicalities are concerned, you may have heard the term "f-stop." F-stop and aperture are interchangeable terms. "F-stop" comes from the symbol used to denote aperture. The standard lens' f-stop can be anywhere from f/4 to f/22. The lens I used for today's post is the "nifty-fifty" which has the ability for a lower aperture of f/1.8. This allows for a very narrow depth of field.

Observe (pardon the poor subject matter):

Aperture: f/1.8 = Very narrow depth of field.

Aperture: f/5.6 = Wider depth of field, the background is coming into focus

Aperture: f/22 = The whole picture is in focus (well, sort of, the background is a little grainy)


Thanks for tuning in!

Thursday, February 25, 2010

12 Weeks to Better Photography


I'm very excited to be joining Meredith as well as some other bloggers in a 12 week photography course. As I write this I am anxiously awaiting my nifty fifty in the mail. Apparently UPS doesn't come to my house until very late in the evening because it's supposed to be here today and has not arrived yet!

Anyway, I will be going through 12 lessons, one each Tuesday, and posting the results here. I will also be linking to the other bloggers who are participating and hopefully we'll all be doing better by the end!

Feel free to leave comments, suggestions, criticism, etc. on the posts as I'm definitely looking to improve my skills!