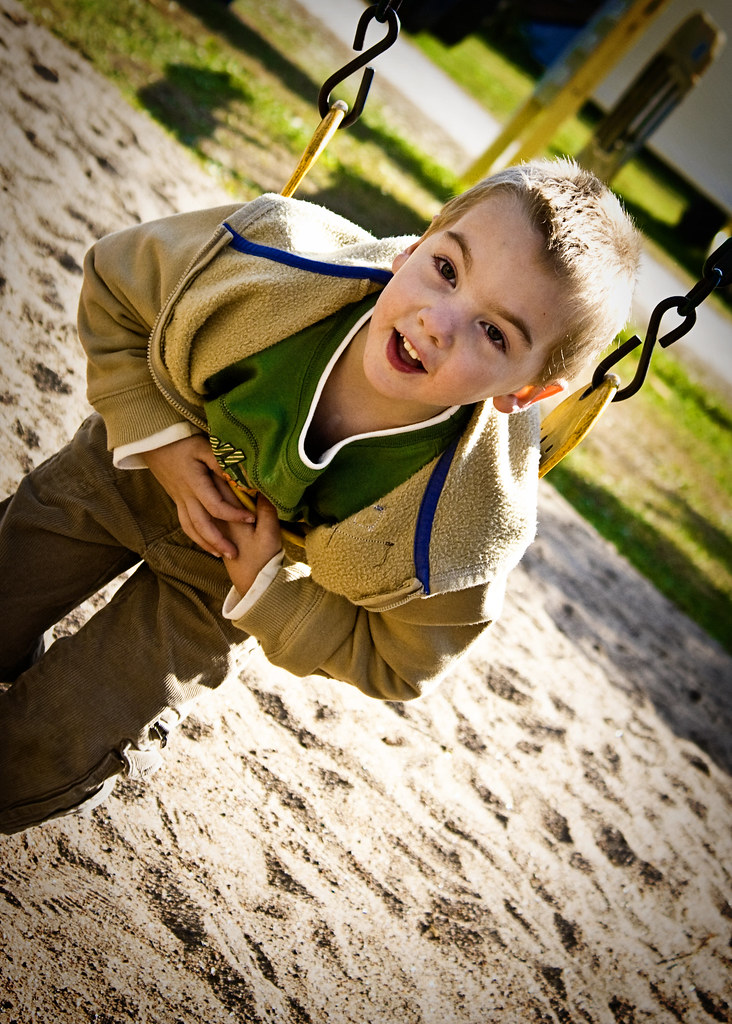
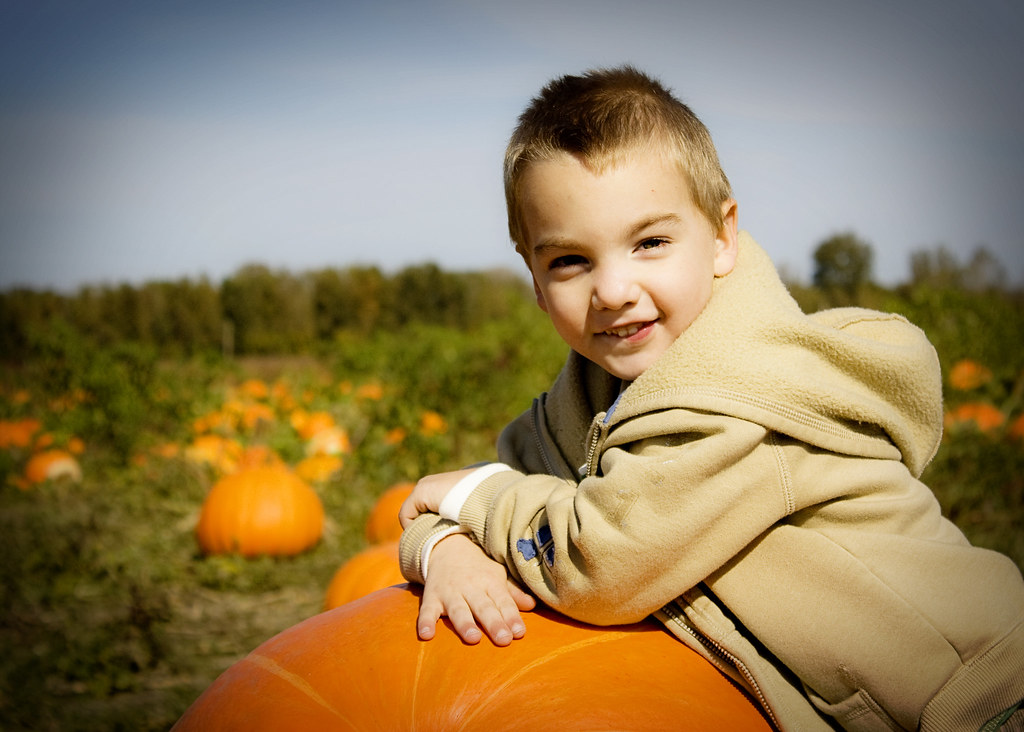
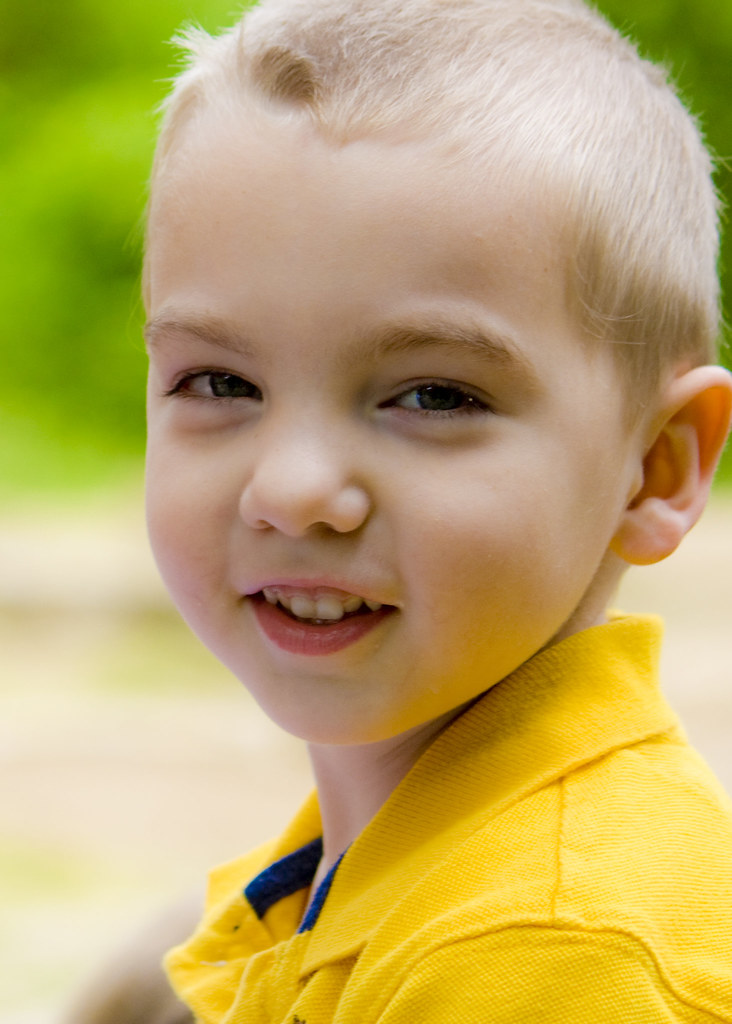
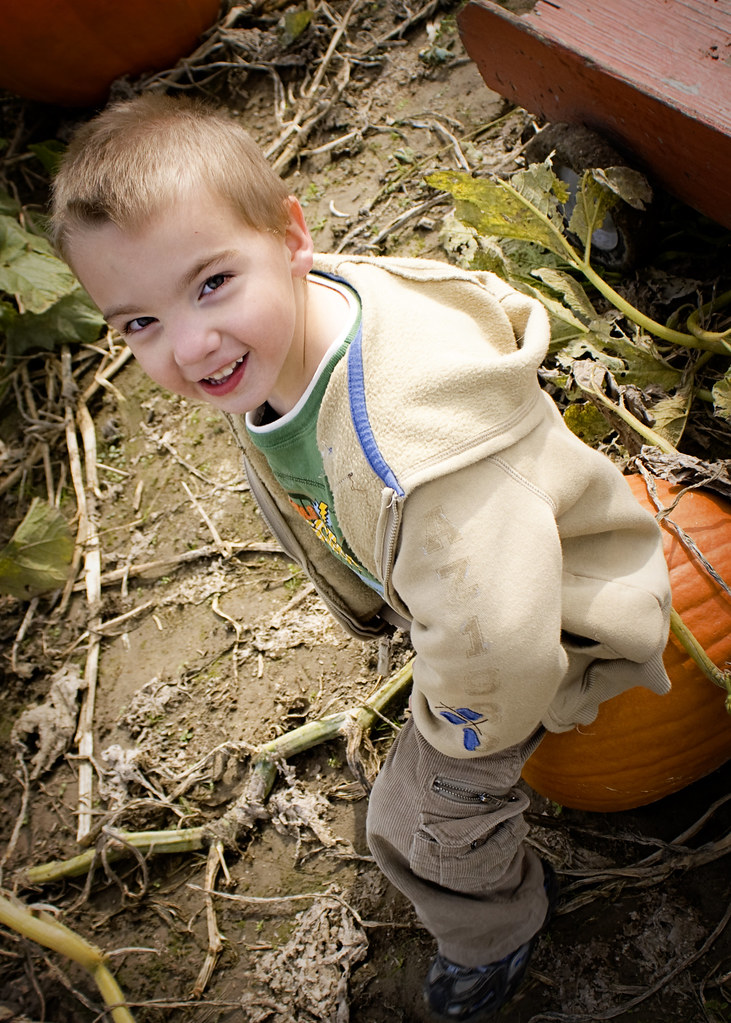
Isabella's mom asked me to take some pictures of her and I obliged. It was a great time! Though, I have to say, as cute as she is, she doesn't really like to look at the camera... :)
Showing posts with label photography. Show all posts
Friday, June 4, 2010
Isabella 2.5
This is Isabella. She's two and a half. She's adorable and completely melts my heart.
Isabella's mom asked me to take some pictures of her and I obliged. It was a great time! Though, I have to say, as cute as she is, she doesn't really like to look at the camera... :)
Saturday, May 29, 2010
Catching Up
School's out!!! I've been on summer break for about a week now and it has been great. I'm going to try to catch up from my lack of posting (finals and end of school stuff sucked the life out of me) in one post.
- As I've already mentioned, I'm no longer a first year teacher. It went so fast, but it was great! And, even better, I get to teach math next year instead of science! I'll be teaching 7-10 grade, pre-algebra, algebra, geometry, and algebra 2. It'll be fun! Busy, but fun!
- We're going on a vacation in August! I haven't gone on a vacation in 6 years, and that was a short weekend to Chicago. It's not much, but we'll be traveling to Gatlinburg, TN with my family and renting a cabin for a week. I'm so excited!
- Clomid cycle 2 was another fail. So, we're still working with the doctor on that front. However, I feel so much more at ease now. I was very obsessive about it in the beginning, but now I'm truly letting it go and giving it over to God. Trying to keep our hopes up!
- Running has had to been put on hold. I've been having a lot of pain in my right foot from my self-diagnosed plantar fasciitis that was getting progessively worse. So, unfortunately I will not be running the Komen 5K. But, I've proceeded with the 30 Day Shred which, I might add, totally kicked my butt. It was intense. But, 20 minutes isn't too bad and I hear it really works!
- I had my first photo session yesterday for my best friend Valerie. She is expecting a baby in the end of June and we decided to play for a little while. I'm really happy with them! I'm posting a few of my favorites.
Unfortunately, a couple of the outdoor photos got a little overexposed, but overall I'm pleased for it being my first try! What do you think? Oh, and BTW, isn't she GORGEOUS???
And, speaking of photography, I know I slacked on the last few weeks of the 12 weeks class, but I plan on making them up later. I can definitely see a difference in my pictures before I "took" the course and after. It was really a great learning tool!
Tuesday, April 13, 2010
12 Weeks to Better Photography - Week 7
Phew, playing catch up here! Back on track with 12WTBP. Check out the originator here.

This week was about outdoor photography and the macro setting. I've already been using a lot of my newfound techniques for outdoor photography seen here, but macro is something I've played with for a while. Macro is a setting that basically allows you to take a photo of something up close. You know those pictures of bugs and flower pollen? Those are taken using the macro setting and a macro lens. I don't have a macro lens, but I have a telephoto lens, which, when zoomed in all the way, will do the trick for the most part. I also have some pictures I took with my old P&S using it's macro setting.
This first photo was taken using the macro setting on a Canon S500. A 5mp P&S I bought for $500 (I KNOW) when digital cameras were first becoming big. This is my second favorite camera to my Rebel. Loved it.
Moving to the DSLR. I took this using my telephoto lens zoomed all the way in and on the macro setting of the camera. You can see quite a bit of detail, including the pollen stuck to it.
Another on the same settings. See the very narrow depth of field?
This was a little experiment I did. Same settings for both photos, but the first is using the UV filter I bought mainly to protect my lenses. The second is without. Interesting...
Can I just say that I was looking back at some of my old pictures and I have come such a LONG way in the past 12 weeks? This has been such a great experience so far and I'm SO GLAD I did it!
Next week: Moving Objects


This week was about outdoor photography and the macro setting. I've already been using a lot of my newfound techniques for outdoor photography seen here, but macro is something I've played with for a while. Macro is a setting that basically allows you to take a photo of something up close. You know those pictures of bugs and flower pollen? Those are taken using the macro setting and a macro lens. I don't have a macro lens, but I have a telephoto lens, which, when zoomed in all the way, will do the trick for the most part. I also have some pictures I took with my old P&S using it's macro setting.
This first photo was taken using the macro setting on a Canon S500. A 5mp P&S I bought for $500 (I KNOW) when digital cameras were first becoming big. This is my second favorite camera to my Rebel. Loved it.
Moving to the DSLR. I took this using my telephoto lens zoomed all the way in and on the macro setting of the camera. You can see quite a bit of detail, including the pollen stuck to it.
Another on the same settings. See the very narrow depth of field?
This was a little experiment I did. Same settings for both photos, but the first is using the UV filter I bought mainly to protect my lenses. The second is without. Interesting...
Can I just say that I was looking back at some of my old pictures and I have come such a LONG way in the past 12 weeks? This has been such a great experience so far and I'm SO GLAD I did it!
Next week: Moving Objects
Monday, April 5, 2010
More Photography Practice
I'm using a new subject this time! This is my niece, Isabella. She's getting so big! She's only 2, but she's definitely big for her age. I think we got some pretty good shots!
I hope everyone had a VERY happy Easter!!
Thursday, April 1, 2010
Practicing What I've Learned
I was babysitting my nephew last night and it was warm and sunny outside so I thought I'd put into practice some of the things I learned.
So, these pictures are taken on the Aperture priority setting on my camera and I put the ISO at 100 since it was nice and bright and sunny out. Also, I actually used the flash on these to eliminate the shadow I was getting across his face. I'm actually pleased!!! I tried to put into use some the tips from this week's lesson as well. I'm pretty good about automatically utilizing the rule of thirds, but some of the other things not so much.
Enjoy!
Isn't he just adorable?! I can't believe he's turning FIVE this year. Where does time go?

So, these pictures are taken on the Aperture priority setting on my camera and I put the ISO at 100 since it was nice and bright and sunny out. Also, I actually used the flash on these to eliminate the shadow I was getting across his face. I'm actually pleased!!! I tried to put into use some the tips from this week's lesson as well. I'm pretty good about automatically utilizing the rule of thirds, but some of the other things not so much.
Enjoy!
Isn't he just adorable?! I can't believe he's turning FIVE this year. Where does time go?
Tuesday, March 30, 2010
12 Weeks to Better Photography - Week 5

Be sure to check out Merideth's blog for a link to all of the 12 Week's participants!
This week focuses on composure hitting 6 major points:
- Keep it Simple
- The Rule of Thirds
- Keep and Eye on the Horizon (sort of an extension of the rule of thirds)
- Frame your subject
- Fill the Frame
- Try a new perspective
I'm going to be honest. I completely forgot about this week's lesson until today, so I'm just going to pull old photos that I've taken that exhibit each point.
Keep It Simple
Try to avoid too much background activity. It takes away from the subject. For example, my first image is a little to chaotic, you can see the poles in the background and it's a little distracting from James and his utter cuteness.
This second image, however is a little more easy on the eyes. My subject is clear and uninhibited.
Rule of Thirds
When taking a picture, try not to center everything. It's in our nature, I think, to want things to be symmetrical and centered. So, we automatically put our subject in the center. However, when you think about it, a lot of the images that you see and say "WOW" to aren't centered. They are often offset. So, divide your viewfinder into thirds (like a tic tac toe board) and line up your subject on one of those lines or cross points. I always say this was the turning point in my photography.
Keep and Eye on the Horizon
This is kind of an extension to the rule of thirds. Don't let your horizon cut your picture in half. Line it up at the upper third or lower third line in your image. You can see this a little in the image above.
Frame your Subject
Try using naturally occurring items to create a frame around your subject. It brings the eye in and makes the photo more interesting!
Fill the Frame
Don't let dead space kill the photo! You're taking a picture of something, let us be able to see it!
Try a New Perspective
Don't be afraid to show off your flexibility! For kids and pets, get down on their level, see the world how they see it. Try finding a perch or just a new angle. You don't have to photograph your subject head on!
Tuesday, March 23, 2010
12 Weeks to Better Photography - Week 4

I have to admit, I was kind of dreading this week. I don't like to use my flash. The following pictures prove it. I'm not very good at it. They always get blown out and never turn out the way I want. But, the good thing is, now I know why. This week's lesson talked about the basics of flash and how to use it appropriately. The challenge called for photographing a subject outdoors in the shade and in a bright sun which casts shadows on the subjects face. Ideally, my subject would have been human. Unfortunately, this wouldn't work for me since Rob doesn't get home until almost sundown. So, the boys had to play the role and getting them to stand still is akin to controlling the weather. So, here' goes nothing. Also, my best friend, Valerie (I've mentioned her before) introduced me to Picnik. Why I've been torturing myself with Photoshop, I have no idea, because this thing is AMAZING.
Image 1/2:
Aperture: f/1.8
Shutter Speed: Automatic
ISO: Automatic
These images was my attempt to show that even when your subject is in a well-lit environment (outside on a bright sunny day) shadows can often cause issues and mute color. With a well-used flash, you can eliminate this. My issue with these photos is that I was attempting to hold Dudley still which caused me to be too close and the flash to overexpose the photo. But, you can see that the shadows which were on his face are now gone and the color is MUCH better (well, sort of).
Image 3/4:
Aperture: f/1.8
Shutter Speed: Automatic
ISO: Automatic
These images were my attempt to show that again, even though the subject is shadowed entirely (especially when there is a backlight) you can use a flash to lighten the subject. Again, this is a very poor representation, but, I did my best!
I'll definitely be practicing this more when I have a more manageable subject.
Subscribe to:
Posts (Atom)